Tap Tempo — Logic Pro X keyboard command of the day

Logic Pro X keyboard command of the day. #LogicProX @StudioIntern1

  Tap Tempo
 

Logic keyboard commands window says this is only available as a keyboard command. I see it assigned to two different keys — ‘T’ and ‘D’ (downbeat).

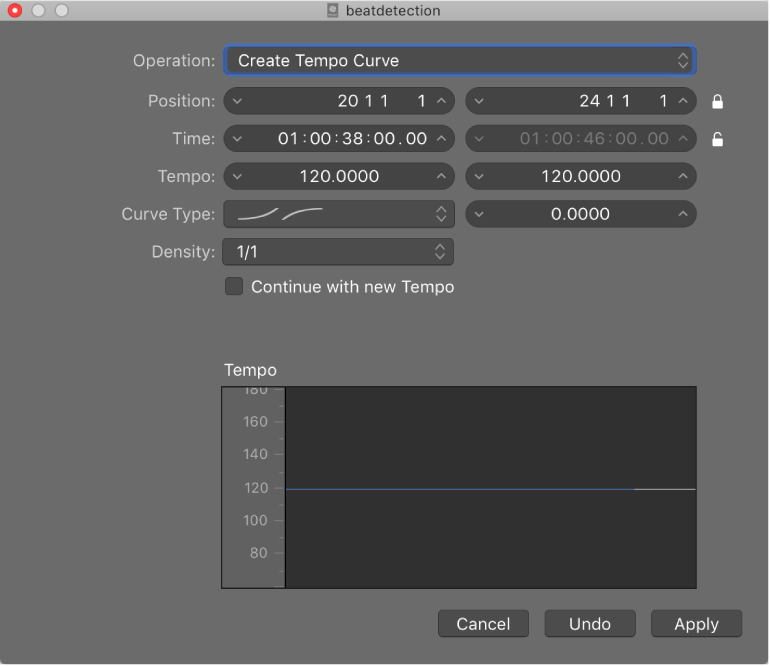
Not clear what this really does. There is an entire section on Tempo that is currently not under my radar.

Tempo overview
Every project has a tempo, which is expressed in beats per minute (bpm). You can set the tempo in the Project Chooser when you create a project, and change it later while you are working. You can set the project tempo in the LCD in the control bar. By default, the tempo for new projects is 120 bpm.

Excerpt From: Apple Inc. “Logic Pro X User Guide.” iBooks.

⇧ SHIFT – ⌃ CONTROL – ⌥ OPTION – ⌘ COMMAND

Attach Symbol: Pizzicato — Logic Pro X keyboard command of the day

Logic Pro X keyboard command of the day. #LogicProX @StudioIntern1

  Attach Symbol: Pizzicato

Self-explanatory? Probably.

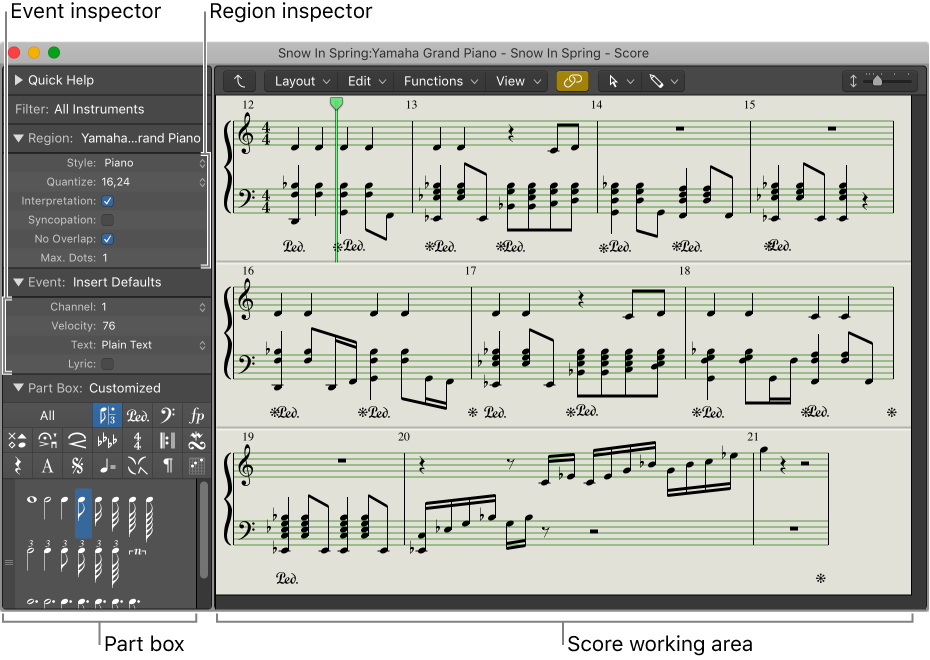
This command (keyboard only) is used in the Score Editor.

Score Editor interface
The Score Editor displays MIDI regions as music notation, including notes, rests, and other MIDI events such as sustain pedal markings. You can add and edit notes and other musical symbols. Lyrics, titles, and other text can also be included in the score. You can control the display of individual staffs, extract parts from the score, modify the overall score layout, and print or export complete scores, partial scores, and parts.”

Excerpt From: Apple Inc. “Logic Pro X User Guide.” iBooks.

⇧ SHIFT  -  ⌃ CONTROL  -  ⌥ OPTION  -  ⌘ COMMAND
Template Changes — multi-bus

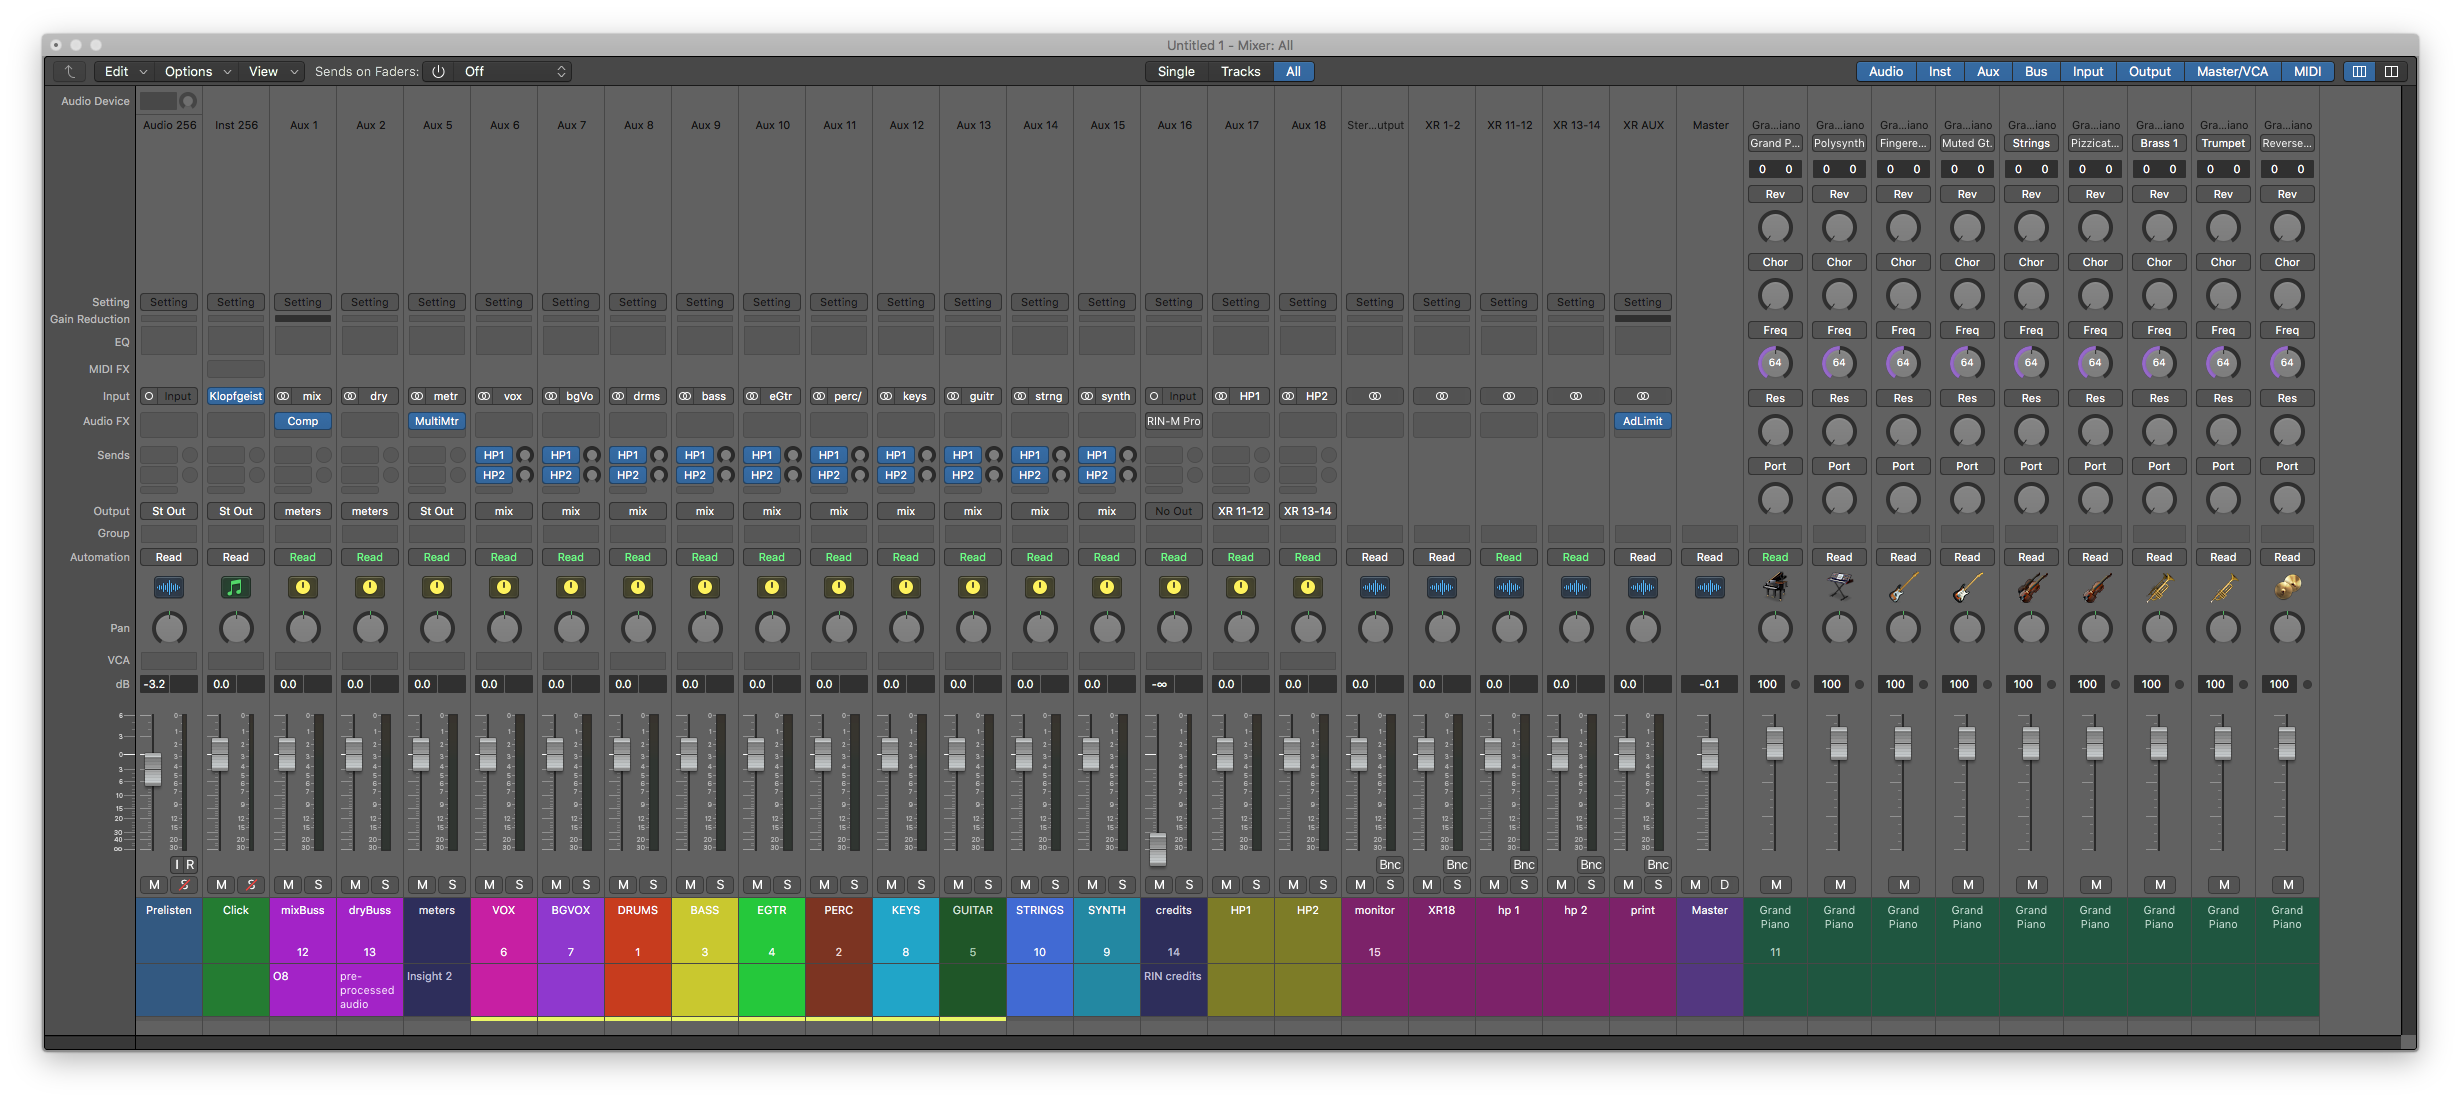
I should document changes to my most used template — multi-bus — I am beginning to keep comments in the Project notes.

2019-01-06
Removed tracks for all of the AUX except MixBus. Tracks get added automation is used on an AUX.

Rename output channels properly

Fix mixer windows in screenset 3 for audio.
Fix mixer windows in screenset 4 for MIDI

2018-12-22
Headphone and monitor mixes added (HP1/2)
stock plugins (O8 and Insight2

Screenset 1 is overview with notes, tracks, mixer.

Screenset 2 is Tracks (Arrange window)

Screenset 3 is Mixer (sized for typical audio) and transport

Screenset 4 is Mixer (sized for MIDI instruments with settings)

Link Control Surfaces — Logic Pro X keyboard command of the day

Logic Pro X keyboard command of the day. #LogicProX @StudioIntern1

  Link Control Surfaces

I have this selected in all of my mixer views.

When this is set the “mixer view” buttons on the MCU (MIDI TRACKS, INPUTS, AUDIO TRACKS, AUDIO INST, AUX, BUSES, OUTPUTS) control the MCU and the mixer view in Logic. Pressing AUX causes the mixer to display AUX channels, etc. When this is not set the MCU will display channels without changing the mixer view in the Logic mixer window.

I have discovered that the setting is remembered for each mixer “window” — the “Mixer” window and the mixer “panel” in the arrange window.

I think I want my Mixer window to not be linked, but keep the Arrange window linked. I may change my mind.

SHIFT-GLOBAL VIEW on the MCU toggles between “Tracks” view and previously selected view.

⇧ SHIFT  -  ⌃ CONTROL  -  ⌥ OPTION  -  ⌘ COMMAND
Set Punch Locators by Regions/Events/Marquee — Logic Pro X keyboard command of the day

Logic Pro X keyboard command of the day. #LogicProX @StudioIntern1

  Set Punch Locators by Regions/Events/Marquee

Only available as a keyboard command. No default key command assigned.

Best place to start to look for information about “punching” is

Punch in and out of audio recordings
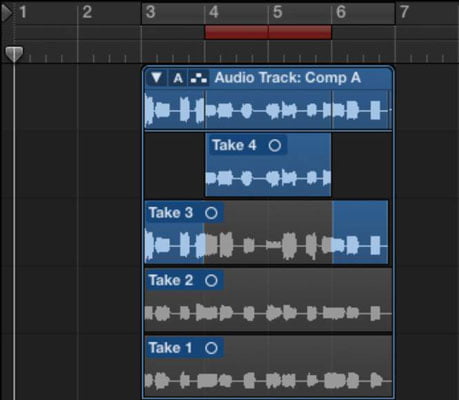
Punch recording is a technique you can use to overwrite a portion of a previously recorded track, during playback, without touching any of the recording before or after that portion. You punch in to interrupt playback and make the recording, then punch out to return to playback mode. You can choose between two punch recording modes: Quick Punch-In mode and Autopunch mode.

Excerpt From: Apple Inc. “Logic Pro X User Guide.” iBooks.

I don’t “re-do” recording as a general rule. If something is wrong, do it again. Not really useful if a simple re-take of a bar or two would “fix” the problem.

Very easy to set punch locators using a key command. The key presses for setting punch in/out are kind of hard

Set Punch In Locator by playhead - ⌃⌥⌘I
Set Punch In Locator by Rounded Playhead - ⌃⌥⇧⌘I
Set Punch Out Locator by Playhead - ⌃⌥⌘O
Set Punch Out Locator Point by Rounded Playhead - ⌃⌥⇧⌘O

I think a better/faster approach would be to “steal” one of the existing commands, probably punch-in, and set it to do punch locators by regions/events/marquee. Use the marquee tool to select where the fix is needed and press one keyboard command.

Even easier — use ⌘F1. If secondary tool is the marquee tool (command key down) left hand can press command while right hand makes selection with mouse. Then press F1. Quick. Tasty.


⇧ SHIFT  -  ⌃ CONTROL  -  ⌥ OPTION  -  ⌘ COMMAND