Logic Pro X keyboard command of the day. #LogicProX @StudioIntern1
Toggle writing Mute Automation in Write Mode
This is not found in the help files, the iBook version of the manuals, or the PDF version of the manual. I have found interesting discussions about the topic for Reaper, Nuendo, ProTools, and a forum thread where someone was complaining about mute automation not working properly in “Touch” mode.
In the first case every time I get near “write” automation the warning signals flash about the destruction of all existing automation when in “Write” mode.
It never occurred to me that I could automate the mute button to silence a track while playing. My first resort would be to simply turn that part of the track into a region which I would then just remove. I can always get it back. It is visibly clear in the arrangement. Another way would be to create the region and set the region gain to minus infinity.
I guess I should try working a mixing session with things stemmed properly, put all the AUX tracks into “write” automation mode, and press play. Move the faders, change the panning push the mute button, etc.
It is certainly clear that if I did create mute automation, and it was not showing, I would wonder why some sound simply disappeared.
Automation overview — Logic Pro X:
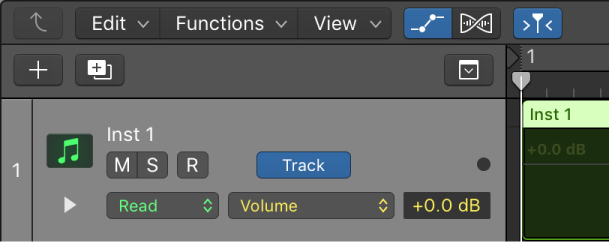
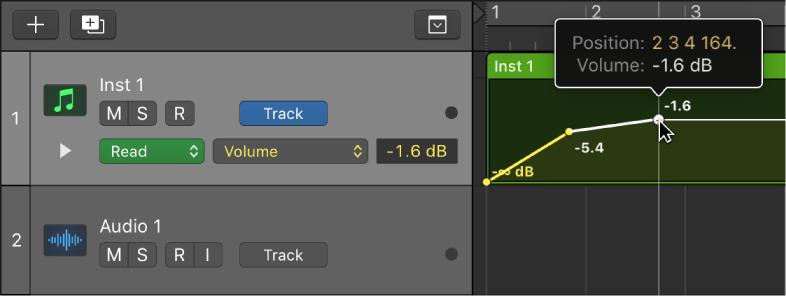
Automation refers to recording, editing, and playing back the movements of faders, knobs, and switches. Using automation, you can create changes over time to volume, pan, and other settings. You can add automation to all track types.
⇧ SHIFT – ⌃ CONTROL – ⌥ OPTION – ⌘ COMMAND
Command Key Touch Bar
- Global Commands
Toggle Current Track Automation Write/Read
Toggle Current Track Automation Write Relative Mode
Toggle writing Volume Automation in Write Mode
Toggle writing Pan Automation in Write Mode
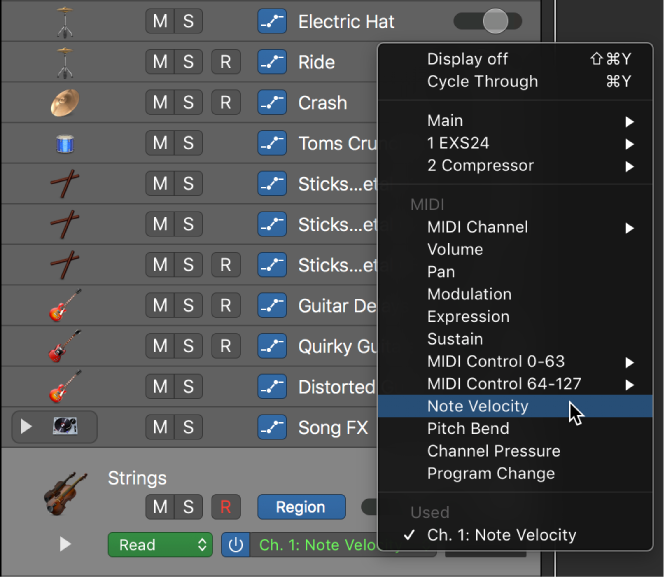
Toggle writing Mute Automation in Write Mode
Toggle writing Send Levels Automation in Write Mode
Toggle writing Plug-in parameters Automation in Write Mode
Toggle writing Solo Automation in Write Mode