Logic Pro X keyboard command of the day. #LogicProX @StudioIntern1
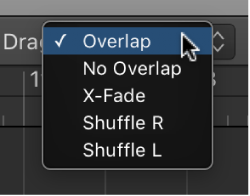
Drag Mode: X-Fade
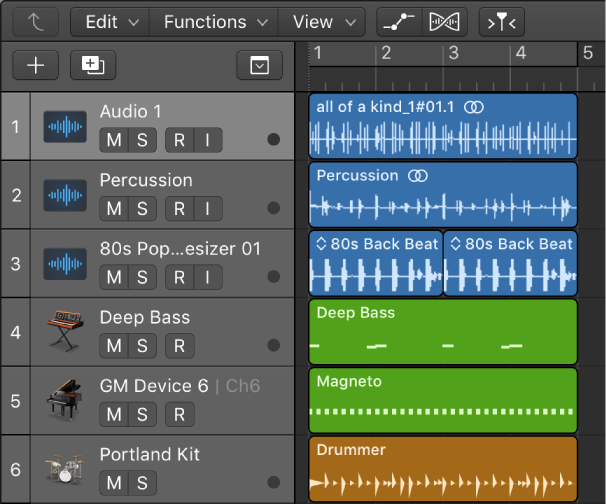
Main Window Tracks
Set the drag mode for the Tracks area
Choose one of the following modes from the Drag pop-up menu in the Tracks area menu bar:
Overlap: Preserves the current region borders when you drag one region over another.
No Overlap: When two regions overlap, the overlapped area of the left (earlier) region is shortened.
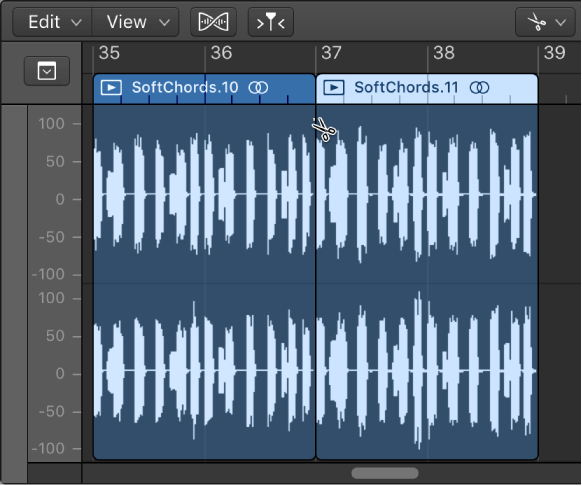
X-Fade: When two audio regions overlap, the overlapped area is crossfaded.
Shuffle R: Aligns regions when you move, resize, or delete them, in the following ways:
Move: Moving a region to the right aligns the end point of the region with the start point of the region that follows, so there is no space (gap) between them.
Resize: When you resize the left edge of a region, the preceding regions move by the change in length. If this causes preceding regions to move past the start of the project, the resized region then overlaps the preceding ones by the corresponding amount.
Delete: The remaining regions on the track move by the length of the deleted region.
Shuffle L: Aligns regions when you move, resize, or delete them, in the following ways:
Move: Moving a region to the left aligns the start point of[…]”
Excerpt From: Apple Inc. “Logic Pro X User Guide.” iBooks.
⇧ SHIFT – ⌃ CONTROL – ⌥ OPTION – ⌘ COMMAND