Remap To Root Notes — Logic Pro keyboard command of the day (KCotD)

  Remap To Root Notes

I was not born into an era where samplers are “free, fast, and easy”. I decided I didn’t need to spend the $2000+ for a very finicky computer that could only record 10 second clips. Silly me.

Today I would pull out a MacBook Air, attach an audio interface, and do the most amazing sampling, all for less than $2000, and with an interface that is indescribably different.

I’m still not going to jump into an MPCX Professional 😉

Someday when I sample.

Use the Sampler Mapping pane menu bar — Apple Support

Remap to Root Notes: Use to remap all selected zones to their respective root key positions.
New MIDI Instrument — Logic Pro keyboard command of the day (KCotD)

  New MIDI Instrument

Creates a new MIDI instrument in the environment. Ancient underpinnings like the many tunnels under Manhattan.

Standard instruments in the Logic Pro Environment — Apple Support

Logic Pro provides standard instrument objects to handle MIDI devices that only use one MIDI channel—typically, older synthesizers, MIDI-controlled effect units, or drum machines. Standard instruments transmit MIDI data on a single MIDI channel.

Assign To Exclusive Group: 7 — Logic Pro keyboard command of the day (KCotD)

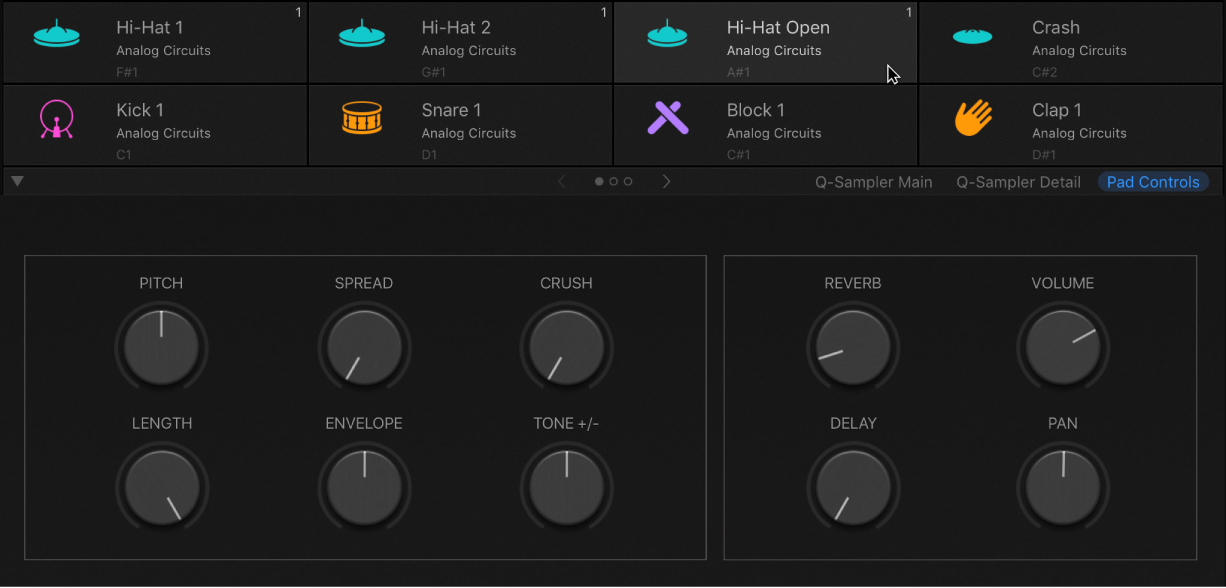
  Assign To Exclusive Group: 7

Assigns a drum pad (Drum Machine Designer) to exclusive group 7. The best example is in the documentation where they describe the hi-hat as a group of 3 sounds.

Use Logic Pro Drum Machine Designer pad controls — Apple Support

Exclusive Group: Choose a group for the pad. You can assign multiple pads to the same group. As soon as one drum sound in the group is triggered, all other sounds in that same group are stopped. For example, you could group three pads with open, semi-closed, and closed hi-hat sounds. Only one of these sounds can be played at a time, mirroring the behavior of real hi-hats.

12 Steps To Great Overdub Performances — Bobby Owsinski’s Music Production Blog

12 Steps To Great Overdub Performances — Bobby Owsinski’s Music Production Blog:

Many times the ear candy of an overdub session can really make or break a song, but sometimes it’s not easy to create to capture that magic. Here’s an excerpt from the second edition of my Music Producer’s Handbook that can act as either an outline or as a reminder to check a number of critical points both before and during your overdub session. It’s 12 steps that you can take that can help you get great overdub performances.

Bobby Owsinski’s guides and books are an excellent starting point in anyone’s audio career…

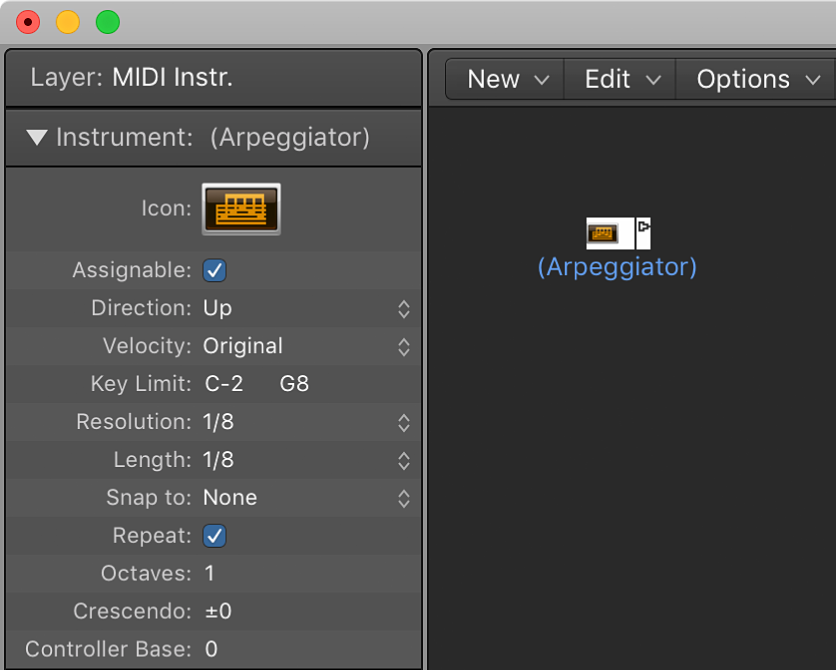
New Arpeggiator — Logic Pro keyboard command of the day (KCotD)

  New Arpeggiator

Create a new Arpeggiator object in the MIDI Environment (Logic Pro Environment).

I suspect that I will never use the Arpeggiator in the environment opting to use the Arpeggiator MIDI plugin instead.

Arpeggiators in the Logic Pro Environment — Apple Support

An arpeggiator object turns chords into arpeggios. It plays the currently held notes—individually—in a selectable pattern (up, down, random, and so on), and at a selectable speed that ranges between whole notes and 768th notes.

Use the Arpeggiator in a Logic Pro project — Apple Support

You can use the Arpeggiator MIDI plug-in with the Smart Controls on a software instrument track. When you turn on the Arpeggiator, chords you play on the keyboard are arpeggiated, or played one note at a time rather than simultaneously.