Region Automation: Balance — Logic Pro X keyboard command of the day

  Region Automation: Balance

Set the automation lane to Balance. Shows the automation lanes if they aren’t already displayed, switches from track to region-based automation, and selects ‘Balance’ as the automation parameter.

Show automation curves in Logic Pro — Apple Support

Before you can add automation points to a track’s automation curves, you need to show the automation curves. Automation curves are displayed as colored curves and points on top of audio and MIDI regions across the track, running the length of the project. You can choose whether to view and edit automation across the track (track-based automation) or only within the track’s regions (region-based automation).

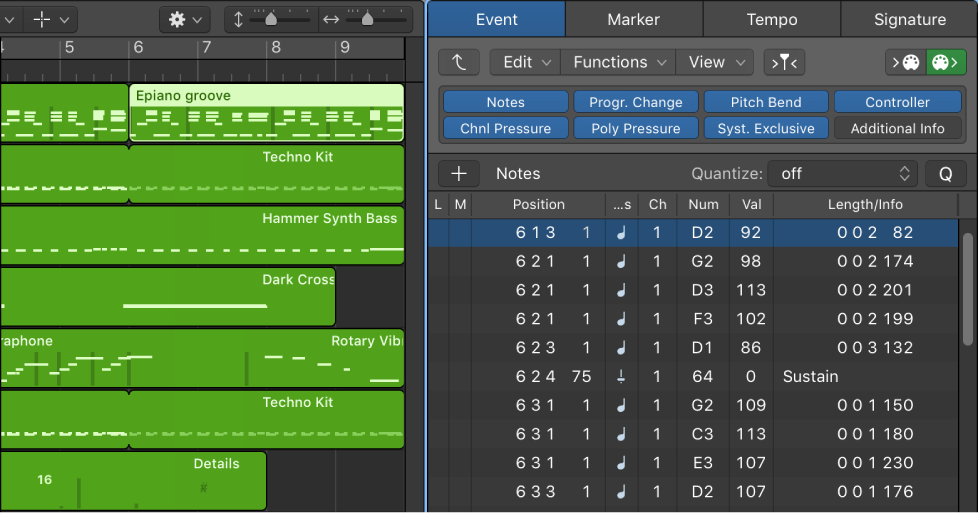
Control Change Messages (Data Bytes)

8 00001000 08 Balance 0-127 MSB

MIDI Specification:

Balance

Number: 8 (coarse) 40 (fine)

Affects:

The device’s stereo balance (assuming that the device has stereo audio outputs). If a
MultiTimbral device, then each Part usually has its own Balance. This is generally
when Balance becomes useful, because then you can use Pan, Volume, and Balance
controllers to internally mix all of the Parts to the device’s stereo outputs. Typically,
Balance would be used on a Part that had stereo elements (where you wish to adjust the
volume of the stereo elements without changing their pan positions), whereas
Pan is

more appropriate for a Part that is strictly a “mono instrument”.

Value Range:

14-bit coarse/fine resolution. 16,384 possible setting, 0x0000 to 0x3FFF where 0x2000
is center balance, 0x0000 emphasizes the left elements mostly, and 0x3FFF emphasizes
the right elements mostly. Some devices only respond to coarse adjust (128 settings)
where 64 is center, 0 is leftmost emphsis, and 127 is rightmost emphasis.

Note: Most all devices ignore the Fine adjust (#40) for Balance, and just implement
Coarse adjust (#8) because 14-bit resolution isn’t needed for this.

Event Channel = 10 — Logic Pro X keyboard command of the day

  Event Channel =  10

Set the channel of the selected event(s) to 10.

Sometimes using keyboard commands is easier than trying to drag numbers up and down, typing in numbers.

There are some special considerations with MIDI channels in the event list. If you select multiple events, open a channel number for editing (double-click so you can type), and type a number in the selected events will be changed relatively. Select channels 11, 12, and 13, change the 11 to 6, you will get channels 6, 7, and 8. Change to 12 and you get 12, 13, and 14. The same thing happens if you type in a number, or drag the number up or down.

If you use the ‘Event Channel = 10’ command all of the events will have their channel changed to 10 with no relative changes. Good to know…

Essentially you execute the ‘Event Channel +1’ and ‘Event Channel -1’ when you drag the channel numbers up and down.

Change event values in Logic Pro — Apple Support

You can change the event values shown in the Event List Value, Number, and Channel columns by using the mouse as a slider or with text input. You can not directly alter the event type in the Status column.

Command    Key Touch Bar
- Various Editors
Event Channel +1
Event Channel -1
Event Channel = 1
Event Channel = 2
Event Channel = 3
Event Channel = 4
Event Channel = 5
Event Channel = 6
Event Channel = 7
Event Channel = 8
Event Channel = 9
Event Channel = 10 ⌃⌥⇧⌘⌦
Event Channel = 11
Event Channel = 12
Event Channel = 13
Event Channel = 14
Event Channel = 15
Event Channel = 16

Select All Orphan Aliases — Logic Pro X keyboard command of the day

  Select All Orphan Aliases

Selects all orphaned aliases (MIDI alias regions where the original has been removed).

It takes a lot of work (many dialog responses) to orphan an alias. Not sure how you could get very many, but some workflows are different.

Create MIDI aliases in the Logic Pro Tracks area — Apple Support

In Logic Pro, choose Functions > Region Alias > Select Orphan Aliases (or use the corresponding key command).

Delete All Orphan Aliases — Logic Pro X keyboard command of the day

  Delete All Orphan Aliases

Deletes orphaned aliases. An orphaned alias is an alias (looks like a MIDI region) to a MIDI region. If the original region is deleted, and you have Logic keep the aliases around, you will have orphaned aliases.

I created an alias, deleted the original region, then unsure the ‘Delet All Orphan Aliases’ command. There is, apparently, no undo of this action.

Create MIDI aliases in the Logic Pro Tracks area — Apple Support

You can create an alias for a MIDI region or a folder. An alias is a reference to a region, and looks similar to a normal region in the Tracks area. If you alter the original region, all aliases of the region are similarly altered.

Aliases can be useful when you want to repeat a phrase or riff in different parts of an arrangement. If you make changes to the original region after creating aliases from it, the changes apply to all its aliases throughout the project. If you want to edit one of the aliases without changing the others, you can turn that alias into an independent region (a region copy) and edit it independently.

Aliases do have some differences from their “parent” region: you can give each alias its own name, and edit region parameters for each alias independently.

Alias names appear in italics to distinguish them from normal regions. If you name an alias, its parent region name is shown below the alias name (provided that the zoom level is adequate).